Wednesday, July 17, 2013

Disolve or wipe fails

Issue: Cannot add dissolve or wipe

Transition effect gets error message
There is not enough spare video / audio at the ends of the clip to create a transition such as a disolve


Warning that there is not enough video or audio for transition

Solution:

Set the IN and OUT points for clips on the timeline so that there is at least a few seconds of video / audio beyond the edit point.

Explanation:

Dissolves wipes and other soft cutting effects are created by overlapping two video or audio clips. The overlapping takes place beyond the edit point. When preparing the edit you need to leave enough video / audio for the transition.

NOTE: Watch out for camera cuts near edit points. These can cause unwanted image flashes during transitions.

Other digital video editing issues

Can not capture video for editing

Issue: Unable to control camcorder or VCR using editing software

Camcorder will not playback in final cut pro / there are no controls on the log and capture window.

This happens if the camera is not connected by firewire, powered on and set to VCR before the log and capture window opens.


Log and capture window missing play controls

Solution:

Close the log and capature window. Connect the camcorder by firewire, power it on and set to VCR reopen the log and capture window.

Explanation:

Final Cut Pro can be used to log clips without a VCR or tape deck attached. You can type timecode IN and OUT points into the boxes, press log clip and give the clip a name. You can then connect the VCR or tape deck and use batch capture to ingest the footage.

Other digital video editing issues

Video editing project lost

Issue: Editing missing, not saved

Issue: Lost deleted all work / computer has crashed and everything has gone.
This can happen for a number of reasons, such as forgetting to save or unexpected power outages


Restore list from autosave vault

Solution:

Restore the project to the most recent good version.

Explanation:

Final Cut Pro has a feature called the ‘Autosave Vault’ . A backup of each open project is made every thirty minutes. If the project has been re-named or ‘saved as’ these backup copies will not be available from the file menu command. They can be located by opening the folder: > final cut pro documents > autosave vault > project name.fcp (the name before the project was renamed or saved as)
Other digital video editing issues

Missing video or audio in editing

Issue: Video clips have disappeared

Media Offline
Source audio or video has been moved or deleted. Can also happen where footage has been logged but not yet batch captured.


Media Offline shown by warning screen and red diagonal line through clip in browser.

Solution 1:

Use the Reconnect Media command under the file menu, use search to find the clip and then reconnect. If more than one clip has gone offline you may be able to reconnect them in one operation.

Solution 2:

Attach a camcorder or video tape deck with source tape loaded, set camera to VCR and batch capture.

Explanation:

Final Cut Pro is a non destructive editing system. All edits are made using references to clips not the actual clip. Editing can continue even when the media is not there.
If the actual video file has been moved, or not been ingested onto the computer you are editing on then the clips are marked as Media Offline. References to them will still stay in place as part of the edited video until they are reconnected.\
Other digital video editing issues

No picture or sound on playback

Issue: Some or all tracks won't play

Picture / Sound can not be seen / heard on playback
This can happen when one or more tracks is turned off.


Timeline with tracks v1 a1 a2 turned off

Solution:

Re-activate the track by clicking on the film / speaker icon next to the track marker

Explanation:

It is sometimes useful to exclude one or more tracks from playback. For example playing back mucic and effects tracks without dialog. All tracks can be turned on or off independantly.

Other digital video editing issues

Video editing window has disappeared

Issue: Missing windows in digital editing software

Timeline and Viewer have disappeared / some widows gone
All final cut pro windows can be closed independantly


FCP 7 with viewer window closed

Solution:

First press CTRL + U to reset the final cut pro interface to normal. If the timeline, and canvas are still not visible click on the sequence icon in the browser window.

Explanation:

All windows in Final Cut Pro can be closed or minimized independently.
FCP can work with a number of sequences, each of which has a timeline linked to the canvas viewer. Each sequence can be closed to allow working on others. If all are closed the timeline and canvas disappear.

Other digital video editing issues

Picture offset in editing software

Issue: Image moved in editor

The picture is not centered on the screen. 

This can happen when the wireframe has been used to move the picture.

video editing picture moved
Viewer with offset image

Solution:

Turn on Image + Wireframe and reposition the image in the correct position. Check that the scale in the motion tab is correct.

Explanation:

Final Cut Pro can be used to move or resize the picture to create visual effects such as picture in picture.

Other digital video editing issues

No picture in digital editing software

Issue: Clips not displaying

No picture in the source / timeline viewer
This can happen when the picture is turned off.

Viewer – image switched off Viewer – image switched on

Solution:

Set the viewer to display image. Click the third icon above the viewer and select image or image + wireframe

Explanation:

Viewer windows can display picture or the image plus a wireframe, used to move the picture. It can be set to just display the wireframe with no image, if the picture makes using the wireframe contrails difficult.

Other digital video editing issues

Digital Edit Fails

Issue: Edit not working

Picture / Sound will not go to the timeline, or clips will not go to the timeline. 

This can happen because some or all of the tracks have been set not to transfer to the timeline.
Edit problem
Edit problem solved

Timeline – all source tracks turned off          Timeline – all source tracks turned on

Solution:

Close the gaps between track markers to turn on the source tracks you need for the edit.

Explanation:

The first set of markers [v1 a1 a2] represent the source clip tracks to be brought to the timeline. The second set of markers [v1 v2 v3 a1 a2 a3 a4 a5 a6] represent the target, or timeline, tracks where the video and audio will go when the edit command is pressed.

The source clip markers can be moved to lock to different target tracks. If the source clip track is not locked to a target track then that source track is not used. If no source tracks are locked to target tracks then nothing will happen during an edit operation.

Other digital video editing issues

Common Issues Editing in Final Cut Pro.

People who are new to digital editing software can come up against a number of problems where things go wrong in a way that seems to make no sense at all.

Below I've listed some of the common ones I've come across, with solutions.


Click on the issue link for  examples  illustrated using Final Cut Pro 7, and explanations of why the software can behave like that.

Similar issues, and solutions, can be found with other digital editing packages.

Issue: Picture / Sound will not go to the timeline, or clips will not go to the timeline.


Solution: Close the gaps between track markers.

Issue: No picture in the source / timeline viewer


Solution: Set the viewer to display image.


Issue: The picture is not centered on the screen.


Solution: Turn on Image + Wireframe and reposition the image in the correct position. Check that the scale in the motion tab is correct.

Issue: Timeline and Viewer have disappeared / some widows gone


Solution: First press CTRL + U to reset the final cut pro interface to normal. If the timeline, and canvas are still not visible click on the sequence in the browser window.

Issue: Picture / Sound can not be seen / heard on playback

Solution: Re-activate the track by clicking on the film / speaker icon next to the track marker

Issue: Media Offline

Solution 1: Use the Reconnect Media command under the file menu, use search to find the clip.
Solution 2: Reconnect the camera with source tape loaded, set camera to VCR and batch capture.

Issue:  Lost deleted all work / computer has crashed and everything has gone.

Solution: Restore the project to the most recent good version.

Issue: Camera will not playback in final cut pro / there are no controls on the log and capture window.

Solution: Connect the camera by firewire, power it on and set to VCR reopen the log and capture window.

Issue: Transition effect gets error message

Solution: Set the IN and OUT points for clips on the timeline so that there is at least a few seconds of video beyond the edit point.

Monday, July 8, 2013

Introduction to Digital Editing

Digital Editing systems such as Final Cut Pro (FCP) work by copying your video footage from the camcorder, or memory card to the computer hard drive. 
 
You can also import video and audio from other sources such as the web or a DVD (if you are allowed by copyright). If you are using video from the web you may need to first convert it into a format that the editing software can recognize i.e. convert to .mov from use in FCP.

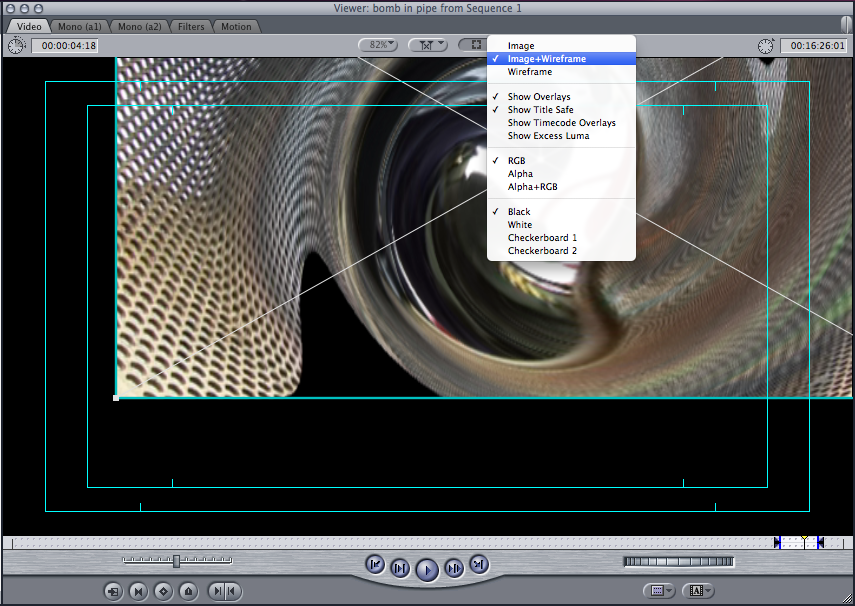
FCP Screen and windows (Other programs such as AVID Media Composer or Adobe Premier have very similar interfaces)

Final Cut Pro 7 interface


The four main windows are Bins, Viewer, Timeline and Canvas.

Bins and Viewer are ways of looking at your source video and audio.
The bins are where you will find your source video. Depending on how brought the video in it may be in may be one video clip or a series of them.  If it is a single video clip you can break it up into subclips to make editing easier.

Click on a clip in the bins and it will appear in the viewer. You can now watch and listen to the clip.

Timeline and Canvas are ways of looking at your edited video and audio.
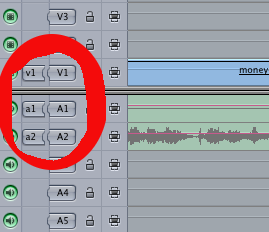
The timeline shows  the clips that male up your edited video in the order in which they appear.  While there are many ways to add clips to the timeline the two main methods are:
Insert Editing - where all the later clips are moved down to make room for the new clip.
Overwrite Editing - where video and audio on the timeline is overwritten, or replaced, by the new clip.

Log and Capture

The first step in editing is to Log and Capture your video and audio.

For example to edit footage from a camcorder you would usually connect the camcorder to the computer using a Firewire lead and switch the camcorder to VCR. In Final Cut Pro you would then open the log and capture window.  You can now use teh computer to control the camcorder and choose which parts of the video to capture.

Non-destructive editing

Editing software like FCP use non-destructive editing. Your source video and audio is never changed. The computer uses time-code references to the video and audio to make the edits. This makes it easy for you to go back and make changes if something goes wrong.